Showing posts with label kids. Show all posts

Tuesday, July 19, 2011

Toddler Time Activities: Dinosaurs

I'm not entirely sure that this fits my domestic theme, but my mom encouraged me to share some of the little things I've been doing to keep my three year old busy lately.  Hoping you find them entertaining or useful. 

We've put off preschool so far for N. because of our recent move.  He's ready and will start soon.  But until that day comes, I've been trying to work in some little activities for us to do.  With help from my mom, a retired early educator, we do monthly or weekly themes and work in little busy activities around them.  Our theme of late has been Dinosaurs!  Its a little early for the dino-stage, but that's what N. has really gotten into lately. 

So here's two easy-to-create activities for young children.  You can of course use the stuffed dino activity with any theme. 


How to Create a Paleontologist Dig:

Supplies:
Large tub
Cornmeal or play sand
Plastic dinosaur shapes (Michael's has dinosaur skulls and the foam hats)
Brush


Fill tub with cornmeal.  Hide dinosaurs in cornmeal.  Let your kid dig them out and brush them off as he finds them. 


How to Make Stuffed Dinos:
Supplies:
Craft felt 
Cookie cutters in dino shapes
Pen
Scissors
Stapler and staples
Cotton balls 


1.  Trace dino shapes into felt.  Create out two shapes for every one finished dinosaur.  Cut out shapes.  (Since N. is still too young to do this step, or to have the patience to watch me do it, I did it the night before.)

2.  Place two cut pieces together and staple around most of the shape, leaving a hole for stuffing.  You can have them help push down on the stapler with you.  (Yes, you can use hot glue, but this was a more hands-on way for N. to be involved.)

3.  Stuff shape with cotton balls to desired fullness.  Staple hole shut. 

4.  We made a Dinosaur Hunt game with our shapes.  One person hides them in a given area and the rest have to find them. 


Thursday, May 26, 2011

Unique but Easy Wall Art


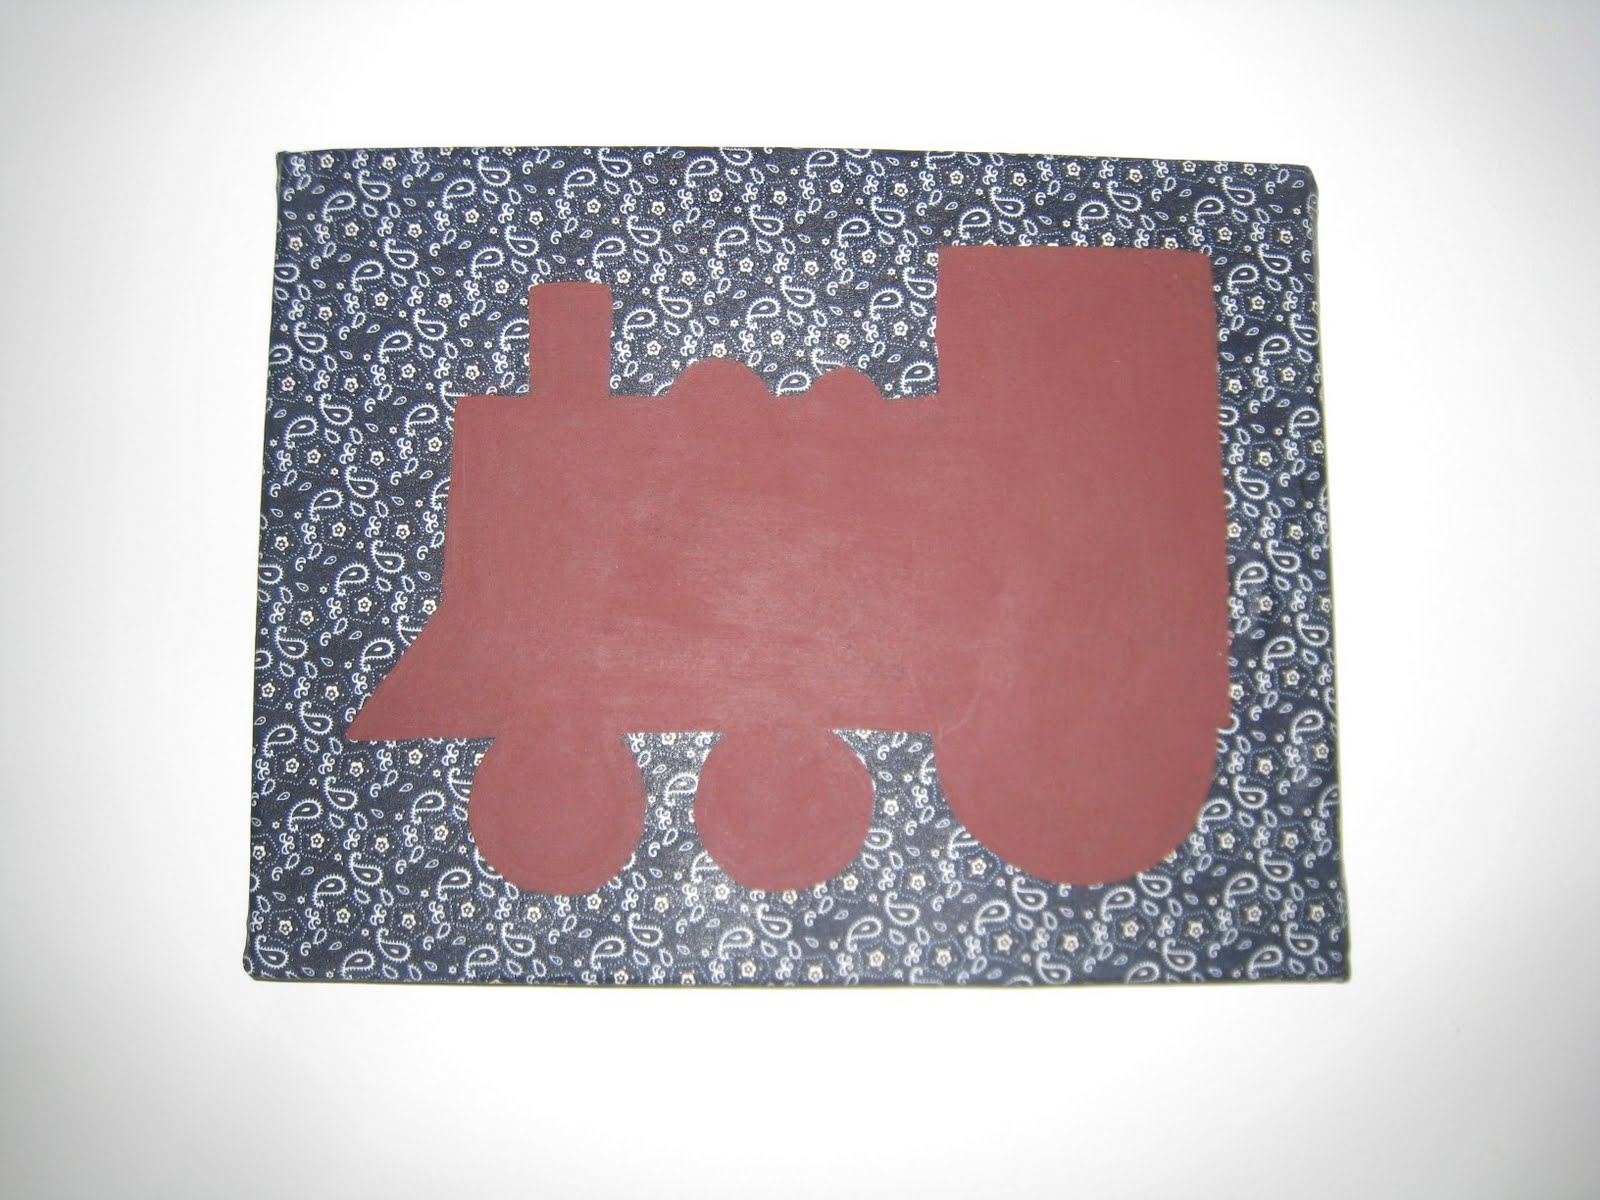
Tying together a nursery theme can be expensive, as well as frustrating. My problem is that I get an idea of exactly what I want and get frustrated when I don't find it. If I do ever find it, it tends to be out of my price range. This is how my oldest ended up with a virtually undecorated bedroom until age two. At that point, we embraced his train theme and I got smart enough to create the decor rather than depend on stores selling me cutesy train items. (Our boys' now-shared room is more vintage than Thomas.)  Easy, unique, and fun.


How to Make Fabric Silhouette Wall Canvases:

Supplies:
Blank canvas
Fabric
Staple gun
Decoupage glue (like Mod Podge), in matte or glossy (I like glossy)
Cardstock or thin cardboard
Scissors
Pencil
Tempera paint
Paintbrushes

1. Trim fabric to cover the front of the canvas and stretch around to the back. Stretch and staple two opposite sides with a staple gun. Fold the corners and staple the other two sides.

2. Coat the front and sides of the fabric with decoupage. This acts as a primer. I like to use a sponge brush when decoupaging for a more even application. Let dry completely, at least 30 minutes.

3. While you wait, create a template. You can either print out silhouettes you find online or you can freehand your own. I created my own, especially since trains are boxy shapes easy to create with just a ruler.  Draw onto card stock and cut out.

4. Trace template onto canvas. Paint in the shape. I start with a thin brush, outlining the shape, and then filling in with a wider brush. Allow paint to dry. Apply more coats as necessary.


Twist on the project:
Once the paint dries, embellish. Some ideas for extra flare include buttons, ribbon, fabric cut-outs attached with decoupage, glitter, and gems.


adapted from The Martha Stewart Show