Showing posts with label home decorating. Show all posts

Monday, July 11, 2011

Quickly Change a Room with Pillows

You know those little things that bug you but still take years for you to get around to doing something about it?  Ah, yes, this was the story of our couch throw pillows.  I love our red couch set but have always hated the mod style pillows that came with it.  They just weren't us.  But they were free (well, for the low price of a couch set) and replacing throw pillows isn't cheap.  So they stayed that way for over two years.  That is until now. 

New house and I had finally had enough of the old pillows.  But instead of replacing them outright, I decided to re-cover them, a decision I'm now glad I made.  The cost of fabric to cover all four pillows came out to about what a single new pillow would have cost me.  I ordered my fabric from Buy Fabrics, http://www.buyfabrics.com/, a discount sight that specializes in upholstery and drapery fabrics.  $6/yard is a steal for upholstery fabric.  So hurray for bargain DIY!

Truthfully, I was hesitant to start on the project.  The material had me totally intimidated.  I had never worked with upholstery before and even though I had everything I needed, it took me weeks to start.  Two weeks, it just lay there, as it had when it first arrived in the mail.  I got around to cutting the fabric and it stayed like that in the craft closet for another week.  Finally, I had an early start to a morning, company coming soon, and the nerve to get the project finished.  Irony is that once I started actually sewing, I was done in under 2 hours.  And that includes slip stitching all four pillows, while stopping frequently to referee two small boys.  The pillows look great and it was so easy that I started looking around the house for where else I could add more throw pillows. 

So here's some very basic instructions for sewing throw pillows.  You'll be amazed at how pillows can completely change the look and feel of a room.  The directions I give are for a cover that is not removable.  If that is something you wish, it is a little more complicated to add a zipper seam or an envelope closure but still in the beginners realm.  But if like me, your fabric is dry clean only, I recommend this method.  You'll need to clean the whole pillow anyway, so why not take the easy route?

How to Sew Throw Pillows:

Supplies:
Pillow insert or throw pillow to be covered
Two pieces of fabric, cut to 1-3" larger than pillow, based on desired "fullness", 
       the smaller the extra allowance, the fuller the pillow will look
Heavy weight thread in matching color
Heavy duty sewing needle

1. Place fabric squares, right sides facing each other, and pin along edge.  Sew along three sides, about 1/4" from edge, or using the footer as your guide.

2.  Turn inside out.  Insert pillow gently, tugging into all corners. 

3.  Slip stitch open seam.

Wednesday, July 6, 2011

Personal Touch on a Trend in DIY Home Decor


We recently moved and have a house with lots and lots of white walls, that I can't paint, as we rent.  So I've been searching for ways to bring life to our walls without spending serious cash.  Particularly on rooms like a bathroom.  The current trend in affordable decorating is to simply frame fabric squares for an instant collection, bringing color to lifeless walls.  Sign me up for that!  But of course, I  had to go complicating that just a little.  All for the sake of the personal touch.  It did also give me something to do while watching TV in the evening. 

Sashiko is a traditional style of embroidery from Japan.  It started as a way for fishermen wives to add strength to clothing.  They would sew simple running stitches in repeated symmetrical patterns.  Its simpler than most embroidery and also has that geometrically balanced quality that I love.  And being Japanese in origin, I felt justified in including it to our Asian themed master decor.

I purchased pre-printed samplers from this cool site, TaDaa Studio.  This site offers more than just sashiko samplers.  I will definitely be ordering their chalkboard cloth sometime in the near future.  Shop their site at: http://www.tadaastudio.com/.  And why buy patterns instead of drawing my own?  After trying to draw my own pattern for the cover of Mark's notebook, I learned that its okay to let someone else do it for me.  It was just too complicated trying to get them perfectly straight and symmetrical on my own.  I don't include instructions here, but if you are seriously interested, I recommend ordering sampler kits, which will include instructions.

Wednesday, June 8, 2011

Filling that Unfillable Bowl

We have a cute bowl that I love but have hard time figuring out how to fill it.  Its easy by the time September comes.  First, apples, which changes to pumpkins in October, mixed squash in November and then large jingle bells in December.  Then Christmas is over and I always end up stashing it away because I'm tired of staring at an empty bowl.  I hate putting in food items that are too perishable; it takes a lot to fill it and they just go bad before we eat them.  So this was my non-perishable solution.


How to Decoupage Decorative Ball Bowl Fillers:

Supplies:
paper (something with texture looks best)
pencil
circle stencil, large punch or round object (I used a shot glass)
scissors
styrofoam balls (found in floral section of craft stores)
decoupage glue, such as Mod Podge
foam brush
drying board, if you have one*

1.  Trace circles on wrong side paper, if yours has a wrong side, and cut out. 

2.  Brush a little glue onto back of a circle and attach to ball.  Fold and pinch it a little to form to the surface.  Slightly overlapping with remaining circles, repeat to cover surface.  Warning: the glue doesn't hold to the actual foam very well.  Mostly you are gluing the circles to one another.  This makes it a little tricky at the beginning but you'll quickly get the hang of it.  Its also a good idea to stop every once in a while to reshape the glued area with your hands to make it a little tighter of a fit. 

3.  Brush glue evenly over entire surface.  Place on drying board, if using, and let dry, at least 1 hour. 


*I have a multi-purpose drying board I made for projects such as this.  It was originally used for dying Easter eggs.  They are great for drying round objects with minimal contact points.  And they are so easy to make.  All you need is a thick foam poster board, a pencil and a ruler, and straight pins with flat heads.  Mark out a 1" grid on the board and place pins in where the lines intersect. 

Thursday, May 26, 2011

Unique but Easy Wall Art


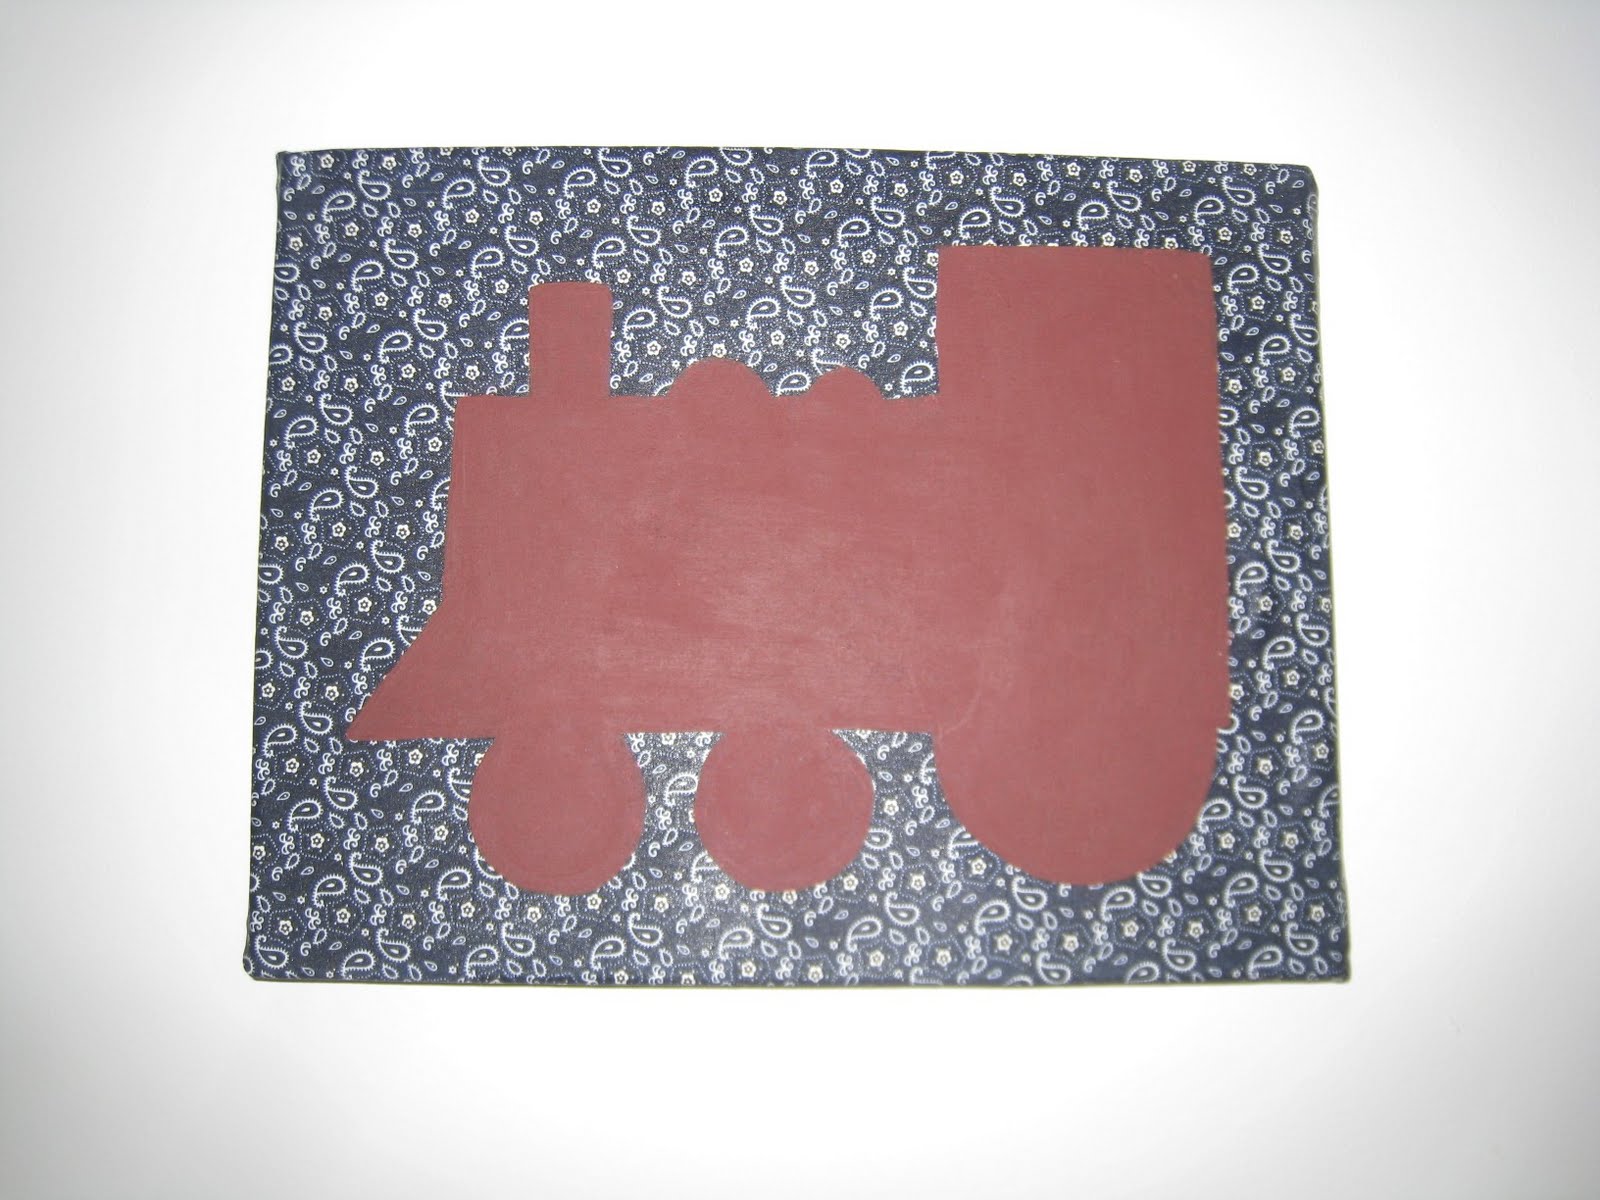
Tying together a nursery theme can be expensive, as well as frustrating. My problem is that I get an idea of exactly what I want and get frustrated when I don't find it. If I do ever find it, it tends to be out of my price range. This is how my oldest ended up with a virtually undecorated bedroom until age two. At that point, we embraced his train theme and I got smart enough to create the decor rather than depend on stores selling me cutesy train items. (Our boys' now-shared room is more vintage than Thomas.)  Easy, unique, and fun.


How to Make Fabric Silhouette Wall Canvases:

Supplies:
Blank canvas
Fabric
Staple gun
Decoupage glue (like Mod Podge), in matte or glossy (I like glossy)
Cardstock or thin cardboard
Scissors
Pencil
Tempera paint
Paintbrushes

1. Trim fabric to cover the front of the canvas and stretch around to the back. Stretch and staple two opposite sides with a staple gun. Fold the corners and staple the other two sides.

2. Coat the front and sides of the fabric with decoupage. This acts as a primer. I like to use a sponge brush when decoupaging for a more even application. Let dry completely, at least 30 minutes.

3. While you wait, create a template. You can either print out silhouettes you find online or you can freehand your own. I created my own, especially since trains are boxy shapes easy to create with just a ruler.  Draw onto card stock and cut out.

4. Trace template onto canvas. Paint in the shape. I start with a thin brush, outlining the shape, and then filling in with a wider brush. Allow paint to dry. Apply more coats as necessary.


Twist on the project:
Once the paint dries, embellish. Some ideas for extra flare include buttons, ribbon, fabric cut-outs attached with decoupage, glitter, and gems.


adapted from The Martha Stewart Show